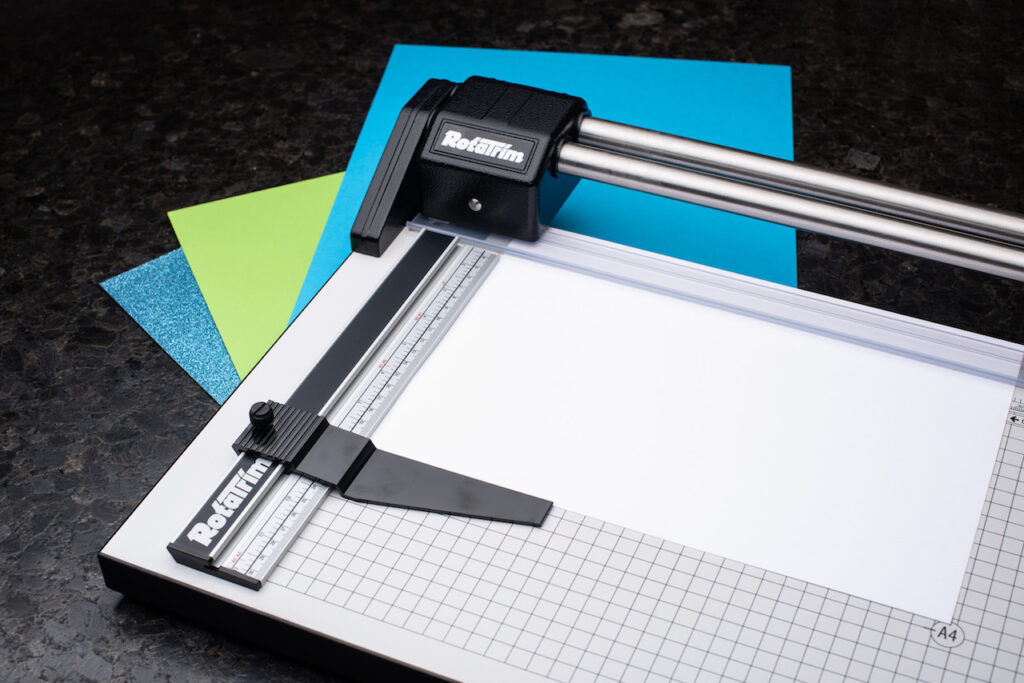

Guide to Choosing The Right Paper Trimmer
There are so many options available when looking for a paper trimmer. So, how do you find the right paper trimmer for you? To find out, you need to ask yourself what do you need it for? Is it home use or to use professionally? This is an example of a change that could make […]
Guide to Choosing The Right Paper Trimmer Read More »