
Rotatrim were lucky enough to be invited to showcase our world-class paper trimmers at this year’s Photography Show at the NEC in Birmingham. We spoke to loads of talented aspiring and professional photographers, and found that one of the most common issues they faced was ensuring that they printed high-quality, professional photos that truly displayed their brilliant work in it’s best light. If this sounds like an issue you’ve faced, keep reading for our expert guide on printing professional photos.
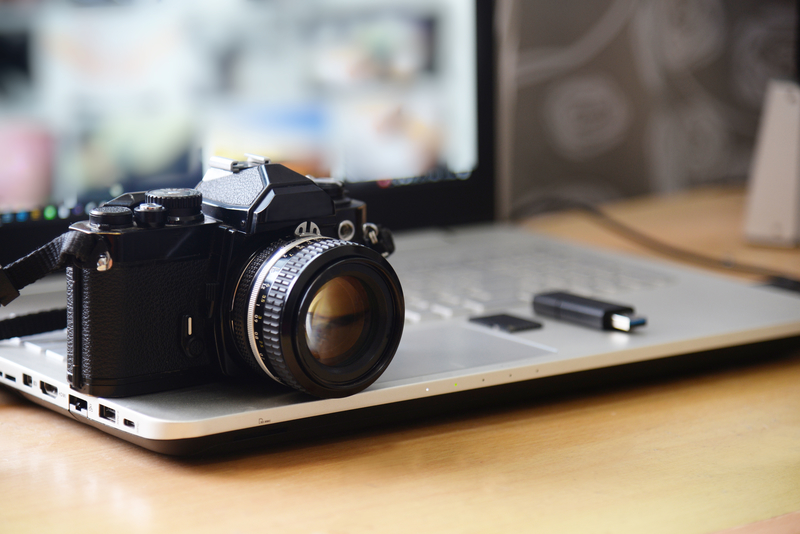
With the forecast set to reach a colossal 2.5 billion smartphone users this year, there have never been so many high-resolution cameras available at the touch of a button. More and more camera’s are being used by not just photographers, but DJ’s, musicians, artists, and the rest as an important piece of equipment. Musicians have been moving back to digital camera’s from using their phones because the quality of the print can be compromised. Unlike the previously popular disposable camera, we can now store all our photos on our phones and view them at any time we may wish. Yet we rarely turn our digital images into prints.
Whether you’re an amateur photographer wishing to take your smartphone photos to the next level, or a professional photographer working from a home office and want to make sure you achieve the highest quality print for your clients, there’s a lot of important information you need to know to get your prints just right.
To print photos at home, you need a printer, this will generally either be an inkjet or a laser printer. An inkjet printer runs on ink cartridges, whereas a laser printer works with toner powder. Of course, standard devices can also print photos very quickly, but the quality is not to a professional standard.
Comparing Inkjet and Laser Printers
In laser printers, the colour dots are relatively wide, because they work with granular toner, which is also melted. Inkjet printers, on the other hand, have ink nozzles that produce tiny dots of colour. Laser printers usually print with four colours, while special photo inkjet printers juggle many more colours.
Inkjet printers are known and proven to have a better print quality than laser printers. If you want photos with intense colours, smooth colour transitions and clear contrasts, the inkjet is the printer for you. Another advantage of an inkjet printer for printing photos like a professional is that they can use special paper for photos – called “photo paper”. The choice of paper plays a big role in image quality, which is often underestimated.
The third benefit of inkjet printers is their low purchase price. The purchase is followed by high printing costs if you only use original cartridges from the printer manufacturers. Cheaper and more environmentally friendly are “refill ink cartridges”. Used, empty printer cartridges are cleaned and filled with new ink. This protects the environment as well as your wallet.
How are the High-Quality Images Produced?
Traditional inkjet printers have four ink cartridges for Cyan, Magenta, Yellow, and Key (Black) – also known as a CMYK printer. Photo printers, on the other hand, also have photo inks for black and white and colour photos. An ink set can contain up to ten individual inks. For example, photo printers print a wider colour gamut than conventional inkjet printers, allowing for much richer, higher-contrast images.
Optimising your photos on your PC before printing will ensure the photo is clear and crisp. With just a bit of post-processing, you’ll get a lot more out of your shots. There are loads of processing programs available: from simple software to extensive software for professionals. All programs have basic functions. This allows you to crop images and adjust their brightness, colour or sharpness. You can refine these functions: not only regulate the brightness of the whole photo, but also the contrast and the exposure; light surfaces can be highlighted, shadows emphasised. If you want to set as little as possible, the automatic image correction and the red-eye correction are basic options that quickly make a huge difference.
Adjust the Printer Settings Correctly
You now have a suitable printer and have optimised your photos – it’s time to print.
Modern devices offer various settings. You probably already know some of these, such as paper orientation or two-sided printing. There are also options to improve your photo print. These include first and foremost the quality settings, the paper size and the paper type – especially important when printing on photo paper. If you feel like it, you can also have your images printed in mirror image using the printer settings.
Note: If you want to print fine black-and-white photos, DO NOT use the Grayscale option in the printer settings. Instead, use a black-and-white editing program to colour the images and then print them regularly in colour mode. The reason: especially with conventional inkjet printers for private use, images printed in grayscale mode are far from as colourfast as colour mode prints.
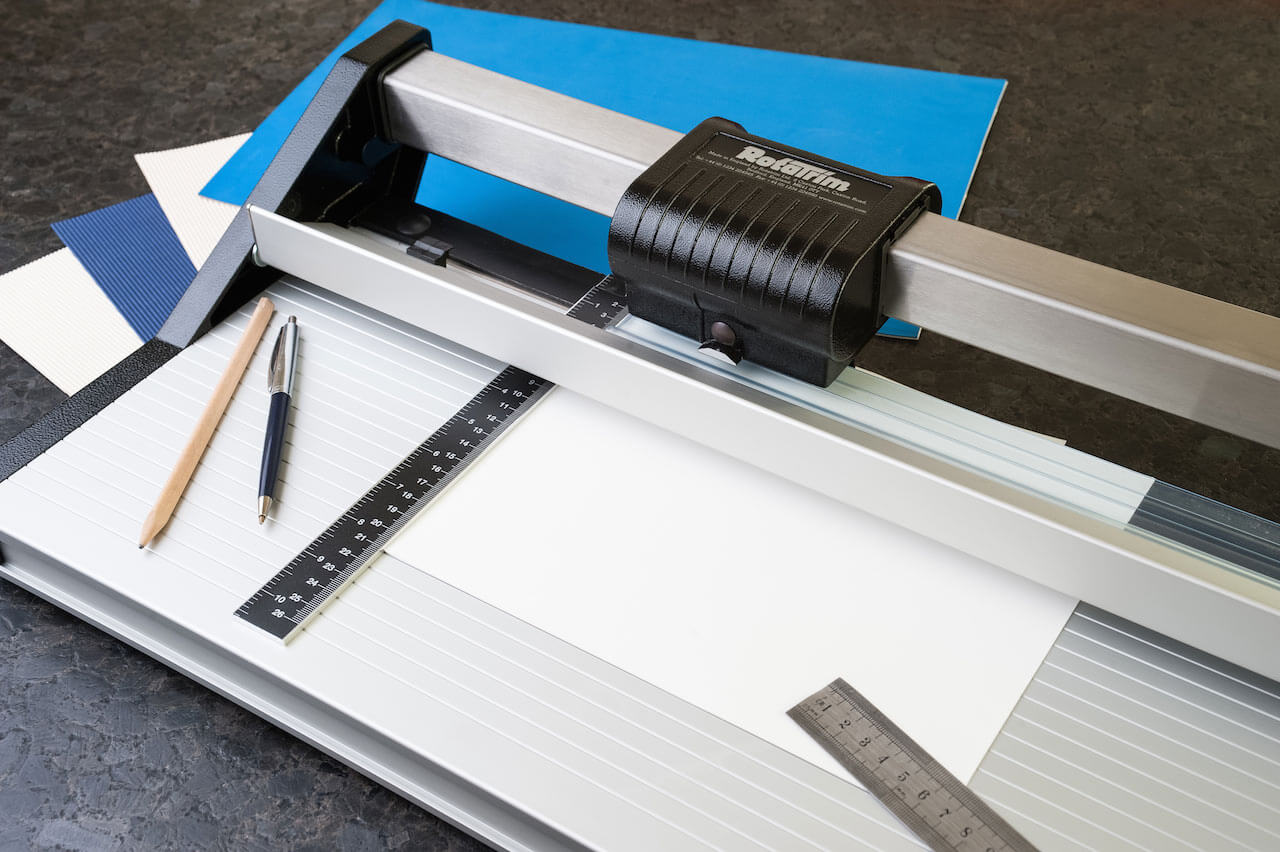
Once the photo has printed and looks sharp it’s time to frame it. When deciding on your frame be sure to take the style and colour scheme of the room into consideration. Whether your photo is a little too big for the frame, or you want a clean, crisp edge – using one of our high-quality paper trimmers you will be able to achieve just that. Our Professional M12 Paper Trimmer will allow you to cut materials up to 305mm and 3.0mm in thickness, the transparent clamp strip will provide accurate work placement, so no need to worry about slanted or skewed edges.
You can easily print your photos at home by yourself, especially if you own an inkjet printer. But before doing so, invest some time to optimise your images and set up your printer properly. Investing in some high-quality printer cartridges and photo paper will make those photos pop even more.
If you would like to find out more about how we can help you, feel free to browse our website. If you have any questions or queries about our paper trimmers and how they can help you print professional photos, please don’t hesitate to get in touch.